
Now that we’ve moved from removing those rings and dents, and know whether or not we have a peice worthy of restoration as opposed to refinishing, and talked about some finishes, let’s delve into the world of distressing.
Distressing is simply the act of purposefully marring your piece of furniture to give it the appearance of age and use. Why on earth would you want to take a perfectly good piece of furniture and give it dents and scratches and gouges? The simple answer is that in most cases we want the appearance of age but the price of a newer piece. In other cases, we have a piece that we have no choice but to use due to budget. Regardless of the reasons behind choosing to distress a piece you own, here are some handy things to keep in mind.
Tools
There are a seemingly endless number of tools you can use to distress your piece – chains, a hammer, sand or gravel, a screwdriver, steel wool, even things like a high-heel shoe. Each item that is solid can be used to dent, scuff, scratch, gouge, ding, or nick your piece. Chains will give soft-edged dents that look as though something was dropped on the surface. Hammers will give a bit more distinct half-moon dent from the head, or sharper, smaller marks from the claw. Sand or gravel can provide scratches on up to gouges when used properly. Steel wool will provide a burnished appearance as though the spot had been rubbed often by something or someone. Things like a screwdriver, pliers, or other similar tools will provide small dents or dings from the business end, and softer, indistinct dents from the grips and handles. Your favorite pair of Jimmy Choos can provide distinct dents and scratches as well. Although, let’s be realistic, if you know what Jimmy Choos are, and own a pair, you probably won’t be distressing your own furniture…
Methods
Give yourself a clear and open workspace, because you’ll be swinging things around with a good bit of force. There really is only one method – use caution not to injure yourself or others when distressing your furniture.
In all seriousness, use precaution wielding those hammers and chains. It’s always best to wear safety glasses, and a good pair of work gloves.
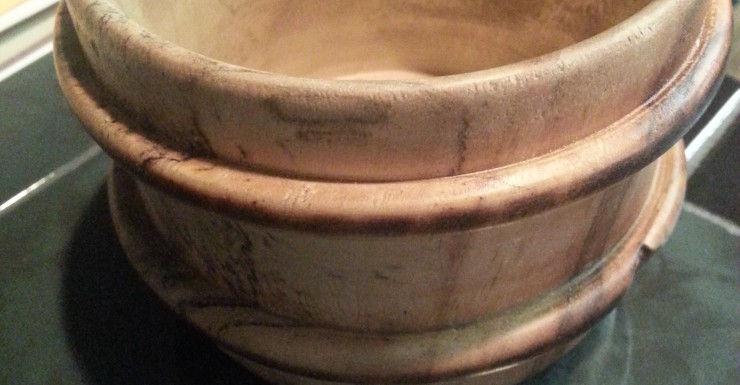
Application
When distressing, it is important to remember to what type of wear you’re attempting to recreate. Those dents would most likely be where someone dropped something heavy – on the top surface, while some of those scratches would be more suited to the sides where things would have been pushed or brushed against things. Burnished areas would have been where hands or arms or someone’s head would have rested and deposited oil and dirt. If you’re working on a table, for instance, the edges of the tabletop where someone would have sat meal after meal, resting an arm or two while eating, reading the paper etc would be the perfect spot to apply the burnished effect, while the true tabletop would be wear there are scratches and dents from heavy serving dishes or plates being moved about. The legs would be best to be nicked or dinged where a chair, bench, or even someone’s boot would have touched it. On a piece such as a rocking chair, the arms would be burnished, as well as the center of the headrest, and the runners and parts of the arms may have some scratches or dings from items that came in contact.
As you move around the piece, think about where the item would have been used – a farmhouse, an institution such as school or hospital, and for what purpose it would have been used. A desk that came from an old schoolhouse would have much more character than a piece used in a large home by the lady of the house. A farm table would have far more character than a table from a formal dining space in a Victorian home.
Other things to remember are whether or not you want the appearance of a piece having been refreshed through it’s years. Would it have been whitewashed or painted over the original finish? Would there be layers of paint depending on the depth of damage?
A you delve into the world of distressing, it’s best to start slowly and small – you can always add more character, but removing the damage is more of a challenge.